Before diving in on which stain colors or finishes you would like, make sure to do your research on what kind of wood you are going to apply your stain on. We suggest testing out various types of stain on the particular piece of wood you are going to apply it to. If you are using plywood and a solid wood panel in your project, you will want to test out stain colors on each wood type. Use the strips to add additional stain to areas of your surfaces, if needed.
For wood that is difficult to stain, finishing with a 120-grit finish will generally solve this issue. Medium-grit isgenerally best for stripping finishes (#120 and #150), while extremely fine-grit grits such as #220 are used for polishing the piece of wood prior to staining, or in-between finishes. On most untreated wood, begin by starting to sand the grain direction using #120-150-grit papers prior to staining, working your way to #220-grit papers.
You may have to sand the veneers while applying the wood finish or stain. If you are using wood stain, and apply more than one coat, you probably will not have to sand in between coats. Remember, if you choose to add a finish to your wood, staining is going to turn the wood a little darker when it is drying.
Most wood stains will not need two coats, but you may apply more coats if you wish to change the colour. If you do want to change the color, you can actually layer another stain color over top of your first one to create a unique finish. If a single coat of stain does not sufficiently darken the wood, then apply a second.
The longer a stain sits on the surface of a veneer, the darker it darkens the wood. Put just enough staining liquid onto the wood so it is drowning (completely coating) the surface.
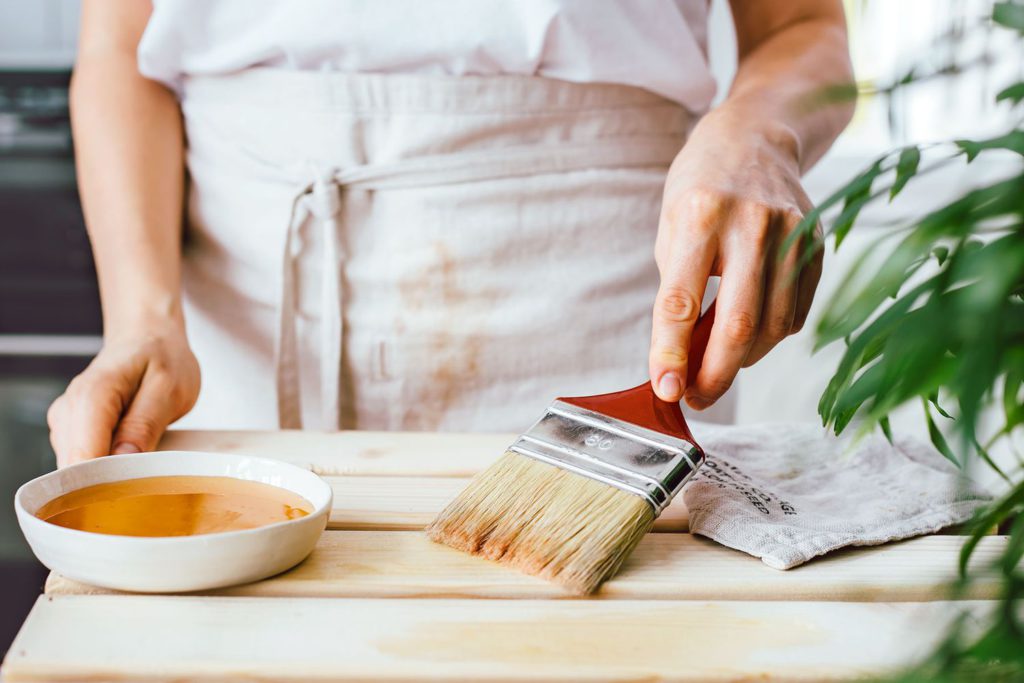
To remove the excess stain, you will use a synthetic washcloth and brush off stain, pointing the washcloth toward the wood grain. Then, you can use oil for wood furniture to finish.

Work small sections, like a single wood grain surface at a time, to achieve a uniform stain look. The key to getting the stain onto your wood is not splattering it all over the place, nor is it creating a finish point that allows the stain to absorb into it and look darker. The surface of the wood might appear glossy and ready for the stain, but that is until you have finished sanding.
Even if wood looks smooth everywhere, unless sanded correctly, with all grains exposed equally, staining will appear mottled or striped. Before you begin any wood staining project, always be sure to first sand your wood, this makes a massive difference to the final finish of your wood stain. It is essential that you wipe the stain thoroughly and consistently (in the direction of the grain) in order to achieve a uniformly stained surface.
End-grain surfaces (areas of wood that were cut opposite the grain), like the front side of the table, tend to absorb more stain than other surfaces. One downside of using stains is they tend to dull down the woods luster.
Because the foam brush holds a larger amount of stain than the rag, you can spread your stain across a larger area (in the direction of the wood grain), and then use the lint-free rag to remove any excess stain. For corners, corners, nooks, cracks, or any other difficult-to-reach areas, apply stain first using the foam brushes.
Then, apply 2 evenly applied coats of any stain that you have chosen with a brush. When using stain, wax, penetrating paint, or an oil-based finish, you will likely have to apply more than 1 coat.
You will typically stain or finish wood veneers after they are glued in place, but if desired, you may choose to apply stain or finish prior to the glue. Remember, you are applying a stain on unfinished wood, so you need to seal your stain in order to protect it. Do not sand too hard, or you might seal the wood too well and then it cannot accept a finish.
Without sanding, your stain will look a lot mottier, darkening any scratches or dents in the wood, and highlight any glue or leftover sticker residue because staining does not absorb into those areas. The surface of your wood veneer needs to be sanded smooth and scratch-free. Apply a pre-stain using a clean brush on a non-obtrusive part of the wood.
Once you have pre-stain on your wood piece, you have got a little window of time to get a nice finish – in fact, 2 hours.
If, for whatever reason, you decide hours later you would like your wood piece a little darker, then continue with the second layer of stain, following the same procedures outlined above.
For instance, if I only apply a quick coat of pre-staining conditioner, and then apply stain, the stain will blend into the conditioner, which is still sitting on the wood, and will dull the color of the stain. Once I am ready to apply stain, I am not overly fussy with the way that I apply the stain on the wood, be it a brush, spongy, or rag. Water-based stains come in solid or semi-transparent finishes, which means you can decide how brightly the wood grain should show.